This simple help guide will get you started with the raccoon design tool, showing you how to upload and place an image.
Using your own images
Uploading your own image using the Raccoon design tool is easy. Begin by picking a product and clicking the create or preflight my design button.
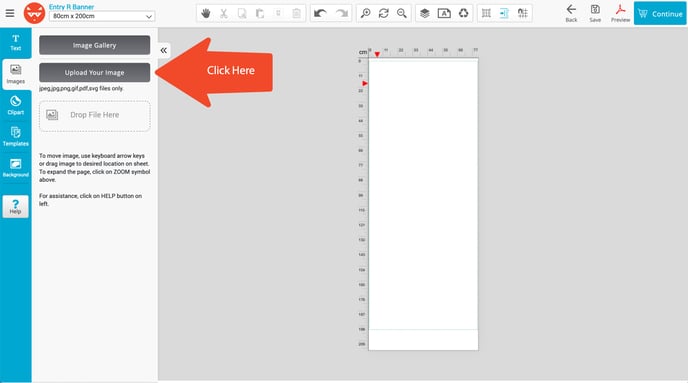
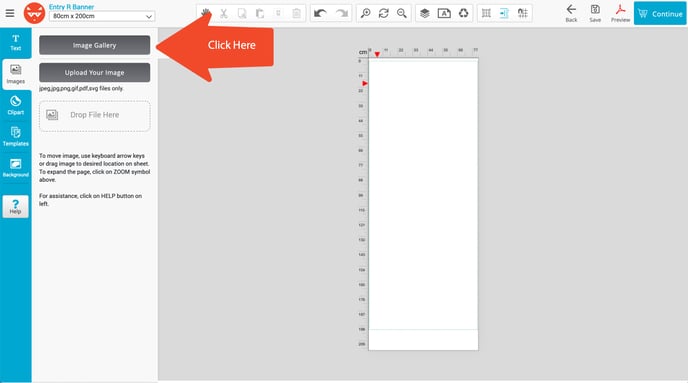
From here you will see the below screen. Navigate to the upload an image button.
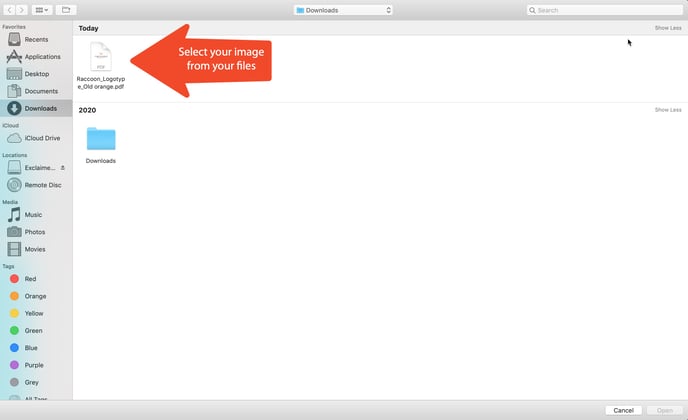
Now you'll be taken to your computer files. Pick the image you like. In this example, we'll select the Raccoon logo in PDF format. This is a vector image so it can be enlarged to any size with loss of image quality. For more information on image types, take a look at our guide on image resolution.
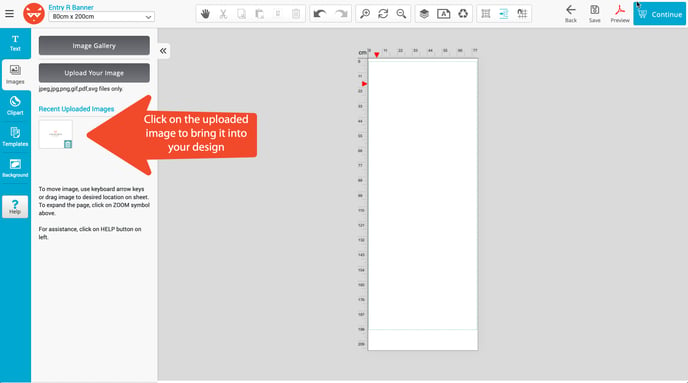
Your image will now be uploaded to the designer. Click on it again to bring it into your design.
As you can see below this has brought the image into the centre of the design. From here we can edit the image in various ways such as enlarging, moving and rotating it.
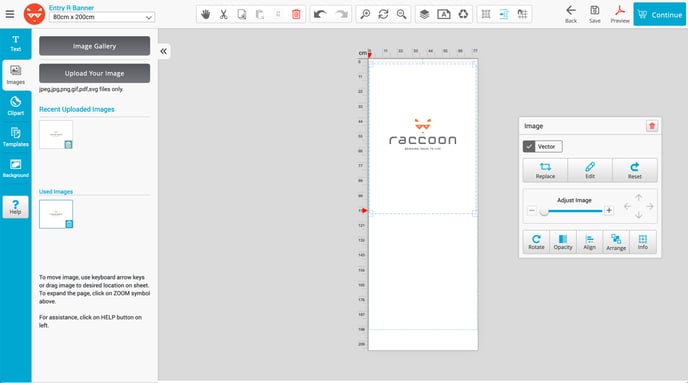
Use the cursor to drag your image to the location you want and the pop up box to make various adjustments to the image.
Using an Image from the design tool
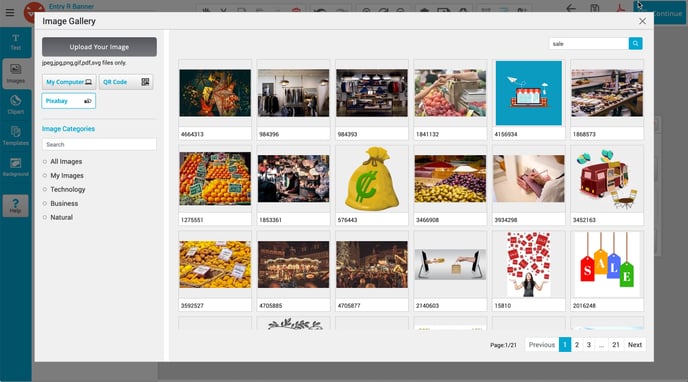
The process to use an image preloaded onto the design tool follows many of the same steps however this time begin by clicking image gallery.
Now click on the tab that says Pixabay to access a huge bank of images integrated into the Raccoon store through Pixabay. Use the search function to find inspiration for your design. In this example, we will search for 'sale' and select an image we like.
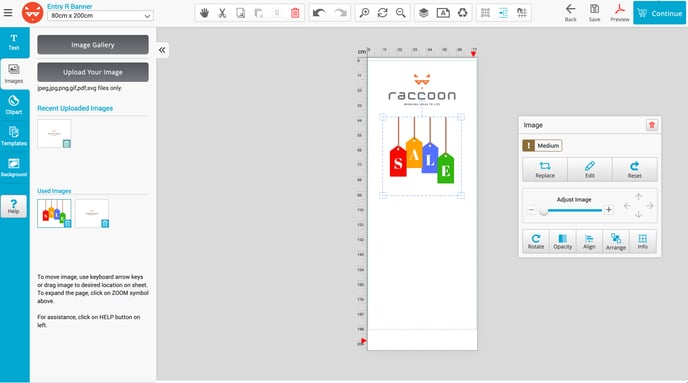
This image will now appear in your design as seen below. As with uploading your own image, you can now change the size, location and rotation of the image you've picked.
Still need help?
If you still need help, please fill out our Contact Us form and a member of our team will be in touch.